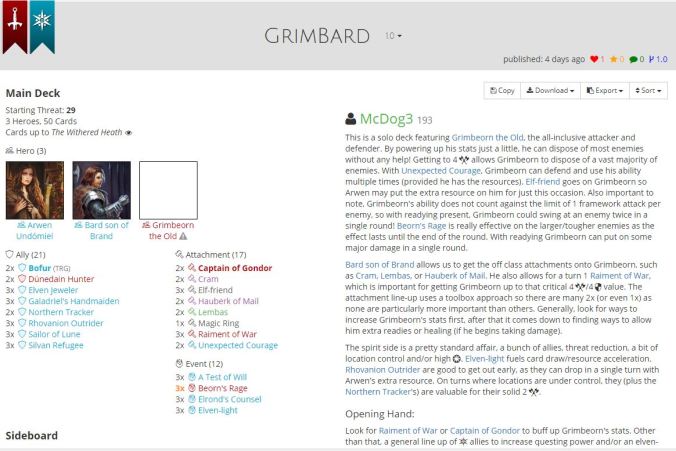
Grimbeorn likes his attachments and it can be a challenge to pick accompanying heroes that provide the right sphere support to give him supporting attachments. Bard Son of Brand helps with that problem with his ability to pay for Item attachments from any sphere. The Hauberk of Mail is a great attachment for Grimbeorn since it gives a point defense and that extra hitpoint, but sometimes you’d rather not bring a Leadership hero. This deck also makes use of the healing/readying combination found in Lembas. Arwen is our third hero and she seems to be a popular choice for accompanying Grimbeorn.
This deck was built and shared on RingsDB by McDog3.
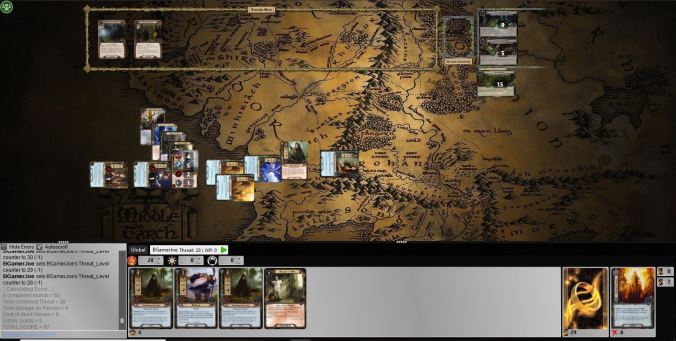
Test 1 – Passage Through Mirkwood – Success
Cruised to victory although the direct damage on the questing characters could have been a problem. There were some fun moments in the game. I played a Dunedain Hunter while at stage 2 when I knew I’d move on to stage 3. I had the choice of engaging Ungoliant’s Spawn or a Dol Guldur Orc. I chose Ungoliant’s Spawn because it seems like I always have to face her anyway at the end of the quest, but the I drew the other quest stage anyway! The Hummerhorns came out late in the game and while my threat was low and I could have ignored it, Grimbeorn was sitting at 8 hitpoints with the Raiment and the Hauberk so I engaged him, killed him and healed Grimbeorn up with Lembas.
Test 2 – Into the Pit – Success
This was a fairly uneventful playthrough but my threat did ramp up to 41 by the 11th turn when I finished the quest. I never found Elven Light which really made me realize how powerful it is. It’s a free card every turn if you want! Arwen is such a solid hero. Beorn is certainly a Tower hero! All the attachments just pile on!

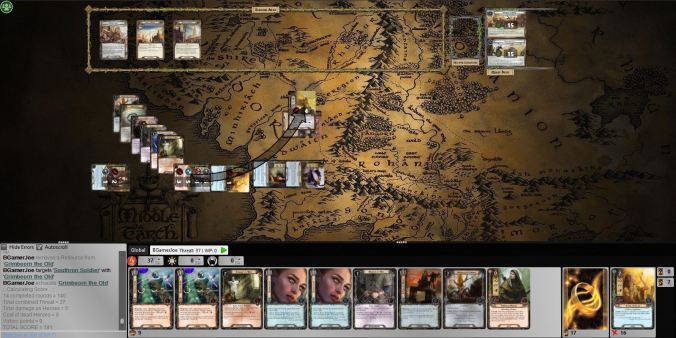
Test 3 – Escape from Umbar – Success with Bard down
The archery just kept knocking out my questing characters, then a string of surging enemies hit me in the end game. The shadow stopped a powered up Grimbeorn from readying and I had to let Bard die from an undefended Sentry. I continued with 2 heroes and just a small handful of allies but eventually fought my way out! This quest is pretty always going to be challenging with no healing/damage prevention. I just about quit the game after that shadow took out my hero, but it turned into an interesting game at that point after I decided to keep playing. Sometimes I scoop too soon!
Grimbeorn’s stats get up to 0/4/5/8 with an extra point of attack or defense gained off Captain of Gondor when you optionally engage an enemy. That extra point let me kill off those Soldiers of Harad in one stroke which was very helpful!
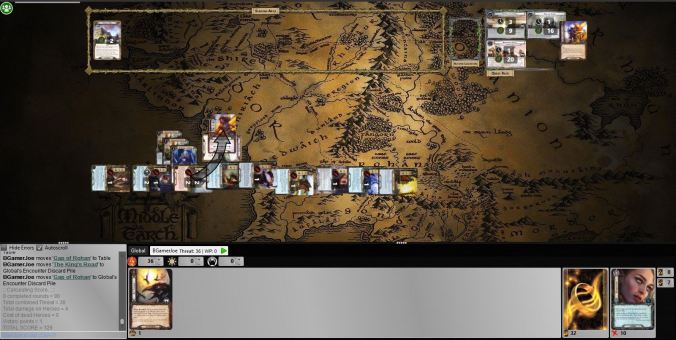
Test 4 – The Fords of Isen
Those Dunlandings didn’t stand a chance. Arwen was perfect vs this quest as she can dump cards into your discard pile every turn to keep your hand size down. Grimbeorn did his job and only needed a couple assists in taking down the largest enemies. I got Captain of Gondor on Grimbeorn right away at that point he was able to take down all the low/mid level enemies while defending. Captain of Gondor is really a perfect attachment for him! Lembas was the other MVP in this game. Grimbeorn is tough, but some damage will get through during a game and the healing combined with the readying was extremely valuable and probably shaved off 2 turns of the game since I was able to engage an additional enemy while still engaged with one of the big Dunland Raiders.
Final Thoughts
This is a solid and well rounded solo deck. It covers the basics of questing, defending, attacking, threat reduction, resource acceleration, card draw, cancellation, and even a little healing and location control. With nearly every aspect of the game covered, it could adjusted as necessary to bolster whichever area is pushed in a particular quest. Condition removal and shadow cancellation are the only parts of the game this deck doesn’t have an answer for.
Grimbeorn is a bit of a hog for deckspace here with all but 1 of the 17 attachments seemingly intended for him. That isn’t necessarily a bad thing but once you get Grimbeorn set up you might be annoyed by drawing more card to buff him that he either doesn’t need or can’t take. Another approach would be to reduce the amount of card devoted to him and increase ways to draw cards. That way you’re still finding your card for him, but you’re also getting more questing and support cards to deal with other parts of the game. Ancient Mathom would probably find it’s way into the deck if I had my way.
There has been a good bit of talk about running Bard son of Brand as a resource smoother but this is the first deck I’ve played that actually does this well. That easy access to Lembas and the Hauberk and flexibility in paying for Raiment of War really helps. He’s not flashy, but he really opens up some interesting options for a lot of deck ideas. He makes the Spirit sphere even stronger than it already was!
While this deck is designed for solo play, it could easily be used in multiplayer games as well. Arwen is always in demand but with only two other unique cards in the deck, it shouldn’t be hard to match with another deck or two.
Thanks to McDog3 for sharing a solid deck using a couple of our newest heroes. I highly recommend you build up the deck and try some quests with it. As his description says, it’s a good toolbox deck that has answers to most any issue that a quest presents and it’s easy to customize to deal with more focused quests.
Thanks for reading!
